Explore 10 easy DIY projects for beginners! Learn to create handmade picture frames, custom coasters, and more. Perfect for personalizing your space and gifts.
Welcome to “Easy DIY Projects for Beginners”! In this article, we’ll explore 10 fun and simple projects that are perfect for those of us just starting out on our DIY journey. From homemade planters to stylish wall art, we’ve handpicked projects that require minimal tools and experience but deliver maximum satisfaction and creativity. Whether we want to spruce up our living space or create personalized gifts for friends and family, these beginner-friendly DIY ideas will inspire us to roll up our sleeves and enjoy the rewarding world of do-it-yourself crafting. So, let’s dive in and discover how easy and enjoyable DIY can be!
Have you ever wondered how to add a personal touch to your home or environment without spending a fortune? We’ve all been there, wanting to spruce up our living spaces or create something unique, but often feeling overwhelmed by where to start. That’s where we come in! Whether you’re crafty or just starting out, we’re here to guide you through some exciting and easy DIY projects, perfect for beginners just like us.
10 Easy DIY Projects for Beginners
Transforming our space and exercising creativity doesn’t have to be complicated or expensive. To help us get started, we’ve compiled a list of 10 easy, fun, and rewarding DIY projects that any beginner can tackle with confidence. So, let’s roll up our sleeves and dive into these fantastic projects.
1. Handmade Picture Frames
Creating handmade picture frames is a simple yet fulfilling project. It allows us to add a personal flair to our photo displays and makes for excellent gifts as well!
Materials Needed:
- Wooden craft sticks or old cardboard
- Glue
- Paint, markers, or decorative paper
- Scissors
- String or ribbon (optional)
Instructions:
-
Constructing the Frame:
- If using wooden craft sticks, glue them together to create a square or rectangle. For cardboard, cut out the desired shape and make sure it has a hole in the middle for the picture.
-
Decorating:
- Paint, color, or cover your frame with decorative paper. Get creative!
-
Adding a Backing:
- Attach another piece of cardboard (slightly smaller than the frame) to the back, leaving one side open to insert the photo.
-
Hanging the Frame:
- Glue or staple a piece of string or ribbon to the back so you can hang it.
2. Custom Coasters
Custom coasters are practical and can protect our furniture from those pesky beverage rings. Plus, they look great!
Materials Needed:
- Tile squares or circular cork coasters
- Mod Podge or glue
- Paint, markers, or decorative paper
- Brush
Instructions:
-
Selecting the Base:
- Use tile squares for a sleek look or cork coasters if you prefer a softer touch.
-
Decorating:
- Paint, draw, or place decorative paper on one side of the coaster.
-
Sealing:
- Apply a layer of Mod Podge or glue over the design to seal it and protect it from moisture.
3. Painted Mason Jars
Mason jars are versatile and can be transformed into beautiful décor items like vases, storage containers, or candle holders.
Materials Needed:
- Mason jars
- Acrylic paint
- Brushes
- Sandpaper (optional for a distressed look)
Instructions:
-
Cleaning the Jars:
- Ensure the mason jars are clean and free of any labels.
-
Painting:
- Apply a few coats of acrylic paint, allowing each coat to dry thoroughly.
-
Distressing (Optional):
- Lightly sand certain areas to give the jars a distressed, vintage look.
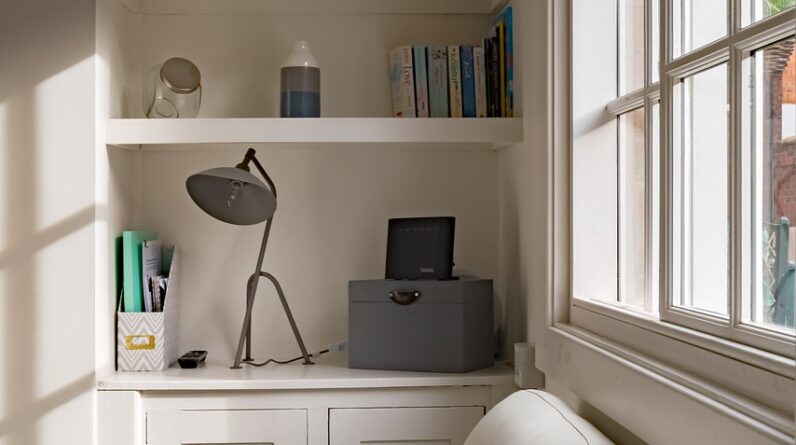
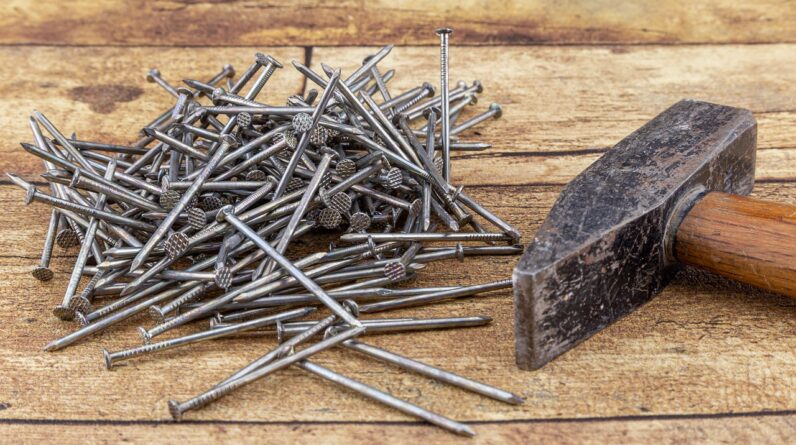
4. Pallet Wood Shelves
Making shelves from pallet wood is not only eco-friendly but also gives us rustic charm and additional storage space.
Materials Needed:
- Old pallets
- Hammer and nails or screws and a drill
- Sandpaper
- Saw
Instructions:
-
Disassembling the Pallet:
- Use a hammer or saw to separate the wooden planks from the pallet.
-
Cutting and Sanding:
- Cut the wood to the desired length and sand down any rough edges.
-
Assembling the Shelf:
- Use nails or screws to attach the planks into a shelf shape.
-
Mounting the Shelf:
- Secure the shelf to the wall using brackets or directly screwing it in place.
5. No-Sew Pillow Covers
We can easily refresh our living room’s look with stylish no-sew pillow covers, perfect for those who aren’t confident with a needle and thread.
Materials Needed:
- Fabric of choice
- Fabric glue or iron-on adhesive tape
- Scissors
- Measuring tape
Instructions:
-
Measuring and Cutting:
- Measure and cut the fabric to the size of the pillow, leaving a bit extra for the seams.
-
Creating the Cover:
- Fold the edges and attach them using fabric glue or iron-on adhesive tape to form a pocket.
-
Finishing Up:
- Slip the pillow into the cover and secure the final seam.
6. DIY Chalkboard
A DIY chalkboard is a fun and practical addition to any home, perfect for jotting down notes or messages.
Materials Needed:
- A piece of wood or an old picture frame
- Chalkboard paint
- Brush or roller
- Chalk
Instructions:
-
Preparing the Surface:
- Clean and lightly sand the wood or frame’s surface.
-
Applying the Paint:
- Apply several coats of chalkboard paint, allowing each coat to dry thoroughly.
-
Conditioning the Chalkboard:
- Once dry, condition the chalkboard by rubbing the side of a piece of chalk over the entire surface and then wipe clean.
7. Simple Wall Art
Creating wall art is a fantastic way for us to display our style and enhance our home’s aesthetics.
Materials Needed:
- Canvas or heavy paper
- Paints, markers, or crayons
- Brushes
Instructions:
-
Design Plan:
- Think about an abstract pattern, geometric shapes, or simple designs.
-
Creating the Artwork:
- Use paints, markers, or crayons to bring your design to life. Experiment with colors and styles!
8. Decorative Planters
Growing our indoor garden with decorative planters can brighten our home and improve its air quality.
Materials Needed:
- Old containers (tin cans, jars, etc.)
- Paints
- Soil and plants
Instructions:
-
Preparing the Containers:
- Clean the containers and remove any labels.
-
Decorating:
- Paint or decorate the outside of the containers as desired.
-
Planting:
- Fill with soil and add your favorite plants or flowers.
9. DIY Bookends
Creating our own bookends is a creative way to keep our books organized and add some personality to our shelves.
Materials Needed:
- Wooden blocks or large stones
- Paints or decorative materials
- Glue
Instructions:
-
Choosing the Base:
- Use wooden blocks or stones as the base for your bookends.
-
Decorating:
- Paint or cover the base with decorative materials.
-
Securing:
- Use glue or additional decorations to add weight and stability.
10. Cork Boards
A DIY corkboard can help us stay organized while adding a decorative touch to our workspace.
Materials Needed:
- Corkboard sheets or wine corks
- Frame (optional)
- Glue
- Push pins
Instructions:
-
Creating the Cork Base:
- If using wine corks, cut them in halves and glue them to the board or frame. Corkboard sheets can be cut to size.
-
Framing (Optional):
- Attach the cork to a frame for a more finished look.
-
Adding to the Wall:
- Secure the board to your wall, and start pinning your notes and reminders!

Final Thoughts
Engaging in DIY projects is a delightful way for us to express our creativity, personalize our spaces, and learn new skills. While the projects we’ve shared are easy for beginners, they also leave plenty of room for customization and improvement.
Now that we’ve shared these exciting and accessible DIY projects, let’s grab our supplies and start creating. With a bit of creativity and effort, we can transform ordinary items into extraordinary pieces that bring joy and functionality into our lives!