Welcome to “The Ultimate Guide on How to Organize Your Craft Supplies”! In this guide, we’re going to share our top tips and tricks for sorting through all the glitter and glue sticks, making it easy for us to find exactly what we need when creativity strikes. From clever storage solutions to maintaining an organized workspace, we’ll cover everything needed to transform our craft chaos into a haven of artistic order. Let’s dive in and create a beautifully organized and inspiring crafting environment together!
Have you ever found yourself frustrated by the clutter of your craft supplies and wondered how to organize them effectively? We have all been there, staring at our eclectic mix of materials and tools, feeling overwhelmed. Whether you’re a seasoned crafter or just starting, the key to a productive and enjoyable crafting experience lies in how well your supplies are organized.
Why Organizing Craft Supplies Matters
Organizing our craft supplies is not just about aesthetics—it’s about creating a functional workspace where creativity can thrive. When our supplies are in order, we save time, reduce stress, and can focus on what truly matters: creating. Plus, knowing exactly where everything is can be incredibly satisfying.
Assessing Your Craft Supply Collection
Before diving into organizing, we first need to assess what we have. Let’s break it down into manageable steps:
Take Inventory
Start by gathering all of our supplies in one place. This might seem daunting, but it’s a critical first step. Lay everything out on a large table or floor space.
Categorize Your Supplies
Next, we need to categorize our supplies. This helps us see how much of each item we have and identify any duplicates. Common categories might include:
- Paper Products: Scrapbook paper, cardstock, origami paper
- Tools: Scissors, cutting mats, knives
- Adhesives: Glue sticks, tapes, adhesives
- Threads and Fabrics: Yarns, embroidery floss, fabrics
- Paints and Brushes: Acrylics, watercolors, brushes
- Beads and Jewelry Making: Beads, wire, pliers
Assess Storage Needs
Once we know what we have, we can identify our storage needs. Do we have a lot of small items that need individual compartments? Or larger items that need shelf space?

Choosing the Right Storage Solutions
Now that we’ve assessed our supplies, it’s time to choose storage solutions that are both functional and aesthetically pleasing.
Clear Storage Bins
Clear storage bins are our best friends when it comes to organizing craft supplies. They allow us to easily see what’s inside without having to open each one. These bins come in various sizes, perfect for different types of supplies.
| Bin Size | Best For |
|---|---|
| Small | Beads, buttons, small embellishments, |
| Medium | Paint tubes, glue bottles, scissors |
| Large | Yarn, fabric, larger tools |
Drawer Units
Drawer units are fantastic for keeping our workspace tidy. We can designate each drawer for a different type of supply. Labeling the drawers can further streamline our crafting process.
Shelving Units
Shelves help to keep frequently used items within reach. Adjustable shelves are particularly useful, allowing us to customize the height according to our needs.
Pegboards and Hooks
A pegboard with hooks is an excellent solution for storing tools and other hanging items. It also adds a decorative element to our craft area.
Organizing Specific Types of Craft Supplies
Different types of craft supplies have different storage needs. Let’s look at some specific strategies:
Paper Products
Paper can be one of the most challenging supplies to organize due to its variety in size and type.
- Vertical Storage: Use magazine holders or vertical paper storage racks to keep papers upright and accessible.
- Flat Storage: For larger sheets, flat drawers or rolling carts with flat storage trays are ideal.
Tools
Keeping our tools organized ensures we don’t waste time searching for the right one.
- Toolbox or Caddy: A toolbox or a portable caddy can keep all of our tools in one place.
- Magnetic Strip: Mounting a magnetic strip on the wall can keep metal tools like scissors and pliers at hand.
Adhesives
Adhesives often come in small, easily misplaced containers.
- Desk Organizers: Use desk organizers or trays to keep adhesives in one place.
- Drawer Dividers: Drawer dividers can keep glue sticks and tapes from rolling around.
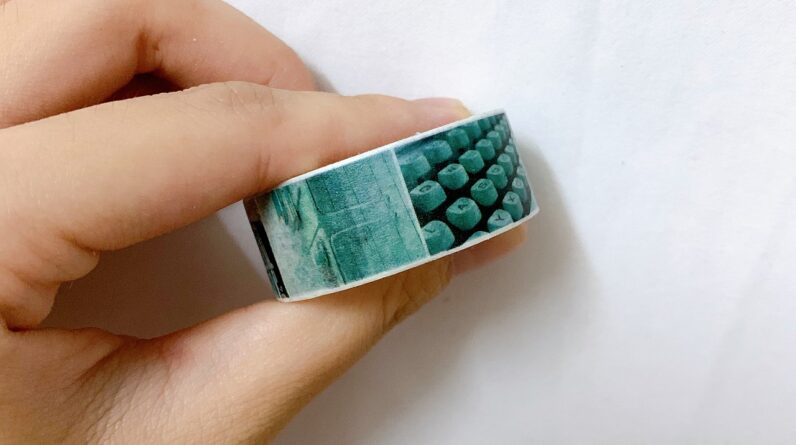
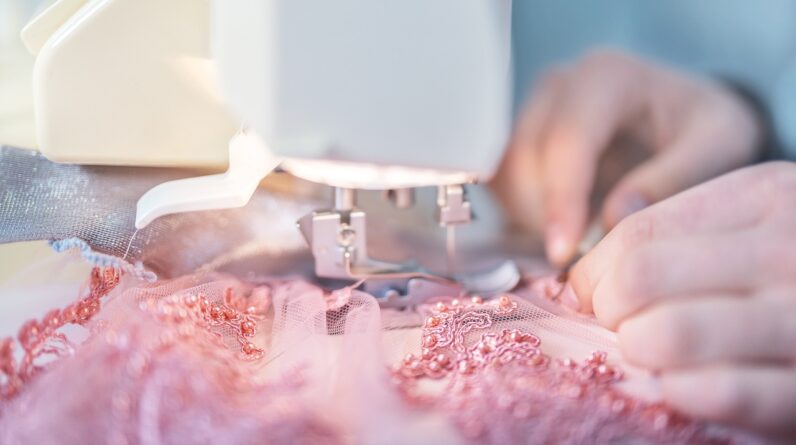
Threads and Fabrics
Threads and fabrics need to be organized to prevent tangling and keep them clean.
- Thread Racks: A thread rack keeps spools organized and easy to find.
- Fabric Bins: Stackable fabric bins can keep fabric neatly folded and dust-free.
Paints and Brushes
Paints and brushes vary in size and use, requiring a specific approach to organization.
- Paint Racks: Use a paint rack to keep all paint bottles visible.
- Brush Holders: Use holders or jars to keep brushes upright and in good condition.
Beads and Jewelry Making Supplies
Beads and findings can be easily lost if not properly stored.
- Compartmentalized Boxes: Use boxes with compartments for different types of beads and findings.
- Labeling: Label each compartment or box to identify contents quickly.

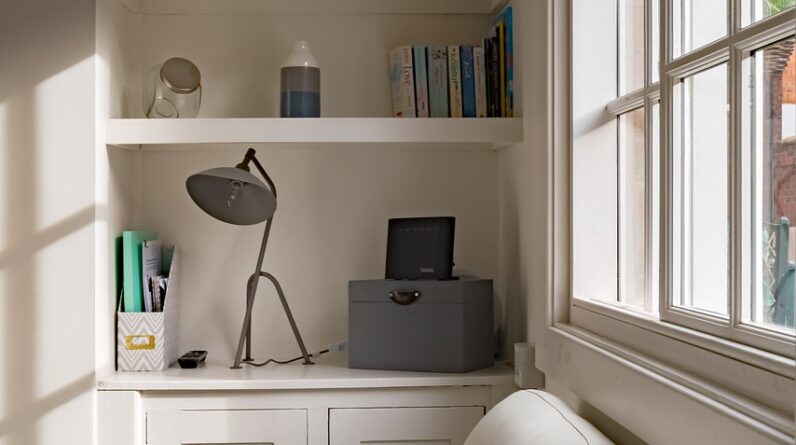
Creating a Crafting Zone
Creating a designated crafting zone will make our crafting time more enjoyable and productive.
Choosing the Right Space
Choose a space with enough room to spread out all our supplies and work comfortably. It could be a spare room, a corner of a room, or even a well-organized closet.
Establishing Zones
Dividing our crafting zone into specific areas can help keep things organized.
- Workspace: This is where we’ll do most of our crafting. A large table with good lighting is essential.
- Storage Area: Designate an area just for storing supplies. Shelves, bins, and drawers will come in handy here.
- Display Area: A shelf or wall space to display finished projects can be motivating and inspiring.
Lighting
Good lighting is crucial for any crafting area. If possible, choose a space with natural light. Supplement with task lighting, such as desk lamps or overhead lights, to ensure we have adequate illumination for detailed work.
Comfort and Ergonomics
Crafting can be time-consuming, so it’s important to have a comfortable chair and a workspace that allows us to work without straining. An adjustable chair and an ergonomic desk setup can make a big difference.
Maintenance Tips for a Clutter-Free Craft Area
Once we have organized our craft supplies, maintaining the organization is key. Here are some tips to keep our crafting area clutter-free:
Regular Cleanup
After each crafting session, take a few minutes to put away supplies and clean our workspace. This prevents clutter from building up.
Periodic Edit
Every few months, take time to review our supplies. Donate or discard items we no longer use. This helps keep our collection manageable.
Label Everything
Labeling storage containers, drawers, and shelves help us quickly find what we need and put things back in the right place.
Use a “One-In, One-Out” Policy
For every new supply we purchase, try to use up, donate, or discard an existing one. This keeps our collection from growing out of control.
Stay Inspired
Keep a small bulletin board or inspiration wall in our crafting area. Display pictures, sketches, or ideas for future projects. This can keep us motivated and excited about crafting.

Dealing with Craft Supply Overflow
It’s common for our supply stash to grow over time. If we find ourselves with more supplies than we can handle, try these solutions:
Rotate Supplies
If storing everything in our craft space is not feasible, consider rotating supplies. Keep seasonal or project-specific items stored away until needed.
Multi-use Furniture
Furniture that doubles as storage, such as ottomans with compartments or tables with drawers, can help us maximize space.
Remote Storage Solutions
For those of us with limited space, consider using an off-site storage service for seldom-used supplies. Just make sure it’s accessible enough to retrieve items when needed.
Community Sharing
Participate in craft supply swaps or donate unused materials to schools, community centers, or fellow crafters. It’s a great way to declutter and share the creativity.
Conclusion
Organizing our craft supplies doesn’t have to be overwhelming. By assessing what we have, choosing the right storage solutions, and maintaining our organization, we can create a crafting space that is both functional and inspiring. Remember, the goal is not just to organize for the sake of it but to create a space where our creativity can truly thrive. Happy crafting!