Let’s dive into the enchanting world of decoupage together! In “The Magic of Decoupage: Transforming Surfaces,” we embark on a creative journey that reveals how this beloved art form can turn ordinary objects into extraordinary pieces. We’ll explore various techniques, share expert tips, and discover the joy of unleashing our inner artists. Get ready to transform everyday surfaces with just a few simple materials, some imagination, and a little magic.
The Magic of Decoupage: Transforming Surfaces
Have you ever looked at a mundane object and wondered how to give it a new lease on life? We have, and that’s when we discovered the magic of decoupage. Decoupage is more than just a craft; it’s an art form and a creative escape. In this article, we’ll explore what decoupage is, its history, supplies you’ll need, techniques, steps for various surfaces, tips for success, and even some advanced techniques. Ready to transform those surfaces? Let’s dive in!

What is Decoupage?
Decoupage comes from the French word “decouper,” which means “to cut out.” Essentially, it’s the art of decorating an object by gluing colorful paper cutouts onto it and then sealing the decoration with varnish. While it may sound simple, the results can be stunning and professional.
History of Decoupage
Decoupage has roots tracing back to East Siberian tomb art. However, it became especially popular in Europe during the 17th century. During its evolution, the craft has seen influences from Chinese, Italian, and French artistic traditions. Today, decoupage is a beloved craft globally, cherished for its versatility and creativity.
Essential Supplies for Decoupage
Before we get our hands dirty, let’s talk about the key supplies you’ll need. Gathering these materials will make your decoupage projects smooth and enjoyable.
| Supply | Details |
|---|---|
| Objects | Items to decoupage, such as boxes, trays, vases, furniture pieces, journals, or any surface that needs a makeover. |
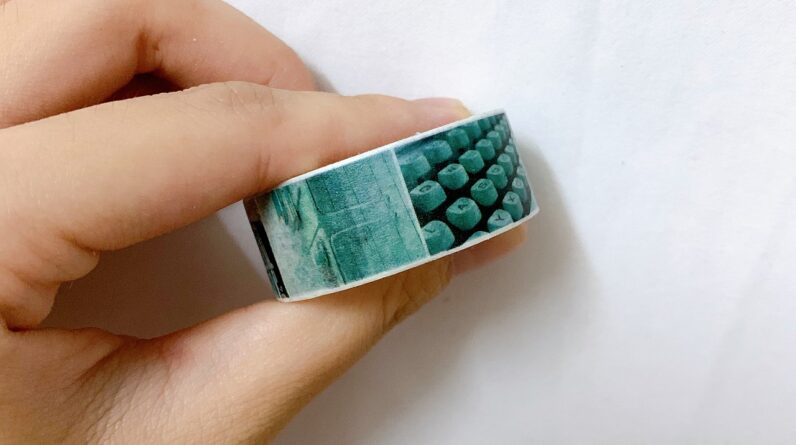
| Paper | Scrapbook paper, napkins, magazines, wrapping paper, or any paper with interesting prints you want to use. |
| Adhesive | Decoupage glue, such as Mod Podge, or a mixture of white glue and water. |
| Scissors | For precision cutting of your papers. |
| Brushes | Variety of brushes for applying glue and varnish. We recommend flat brushes for smooth application. |
| Sealant | Varnish, clear acrylic spray, or another sealer to protect your finished work. |
| Sandpaper | Fine-grit sandpaper to smooth the surface before beginning. |
| Optional | Paints, embellishments, and other decorative items for added flair. |
Techniques for Decoupage
Now that we have the necessary supplies, let’s delve into some techniques that could really elevate our decoupage projects.
Basic Technique
The basic technique is straightforward but offers a multitude of variations.
- Preparation: Clean and, if necessary, sand the surface you will be working on.
- Cutting: Cut out images or patterns from your chosen paper.
- Placement: Arrange the cutouts on your object to get an idea of the layout.
- Adhesion: Using a brush, apply a thin layer of adhesive to the back of the cutouts and place them on the object. Smooth out any air bubbles.
- Sealing: Once everything is dry and in place, apply multiple coats of varnish or sealant to protect and finish your design.
Layering Technique
Layering adds dimension and depth to your projects. Follow the basic technique but introduce layers as you go. Allow each layer to dry completely before adding the next.
Distressed Look
For a vintage feel, consider distressing your decoupage. Gently sand the edges of your cutouts before adhering them. After sealing, lightly sand the edges again for a worn, antique appearance.
Steps for Various Surfaces
Each surface type can bring different challenges and opportunities. Below we outline steps for several common surfaces.
Wood
- Sand: Smooth the wood with fine-grit sandpaper.
- Prime: Apply a primer if the wood is dark or has an existing finish.
- Apply Cutouts: Follow the basic technique for adhering your designs.
- Seal: Use a polyurethane varnish to seal your work.
Glass
- Clean: Thoroughly clean the glass with alcohol to remove any residues.
- Apply Cutouts: Use a transparent decoupage glue for a glass-on-glass look.
- Seal: Use a clear acrylic spray to seal the glass.
Metal
- Sand: Lightly sand to create a rough texture for better adhesion.
- Prime: Apply a metal primer for rust prevention.
- Apply Cutouts: Adhere the paper as usual.
- Seal: Use a rust-resistant sealant.
Fabric
- Pre-wash: Wash fabric to remove any sizing.
- Apply Cutouts: Use fabric decoupage glue.
- Seal: Seal with a fabric-friendly sealer.

Tips for a Perfect Finish
Creating beautiful decoupage isn’t just about sticking paper to a surface; it’s about achieving a cohesive and professional-looking finish.
Smooth Application
Use a roller or squeegee to smooth out air bubbles and wrinkles. This guarantees that the paper adheres to the surface without unsightly bumps.
Proper Drying
Allow each layer of glue and varnish to dry thoroughly. Rushing this process can lead to mishaps like peeling or cloudiness.
Experimenting with Materials
Don’t limit yourself to just paper. Fabrics, leaves, and decorative napkins can add unique textures and patterns to your work.
Advanced Techniques
Once you’re comfortable with the basics, why not try some advanced techniques to dazzle your friends and family? Here are a couple to get you started.
3D Decoupage
3D decoupage, or papier tole, involves layering the same image multiple times to create a three-dimensional effect.
- Cut Multiple Copies: Cut the main subject of your image from several copies of the same image.
- Layer and Foam: Use foam or silicone glue between the layers to create depth.
Stencil and Paint Combinations
Combine stenciling and painting with decoupage for a mixed-media masterpiece. Use stencils to add background patterns, then apply your decoupage cutouts on top.

Common Challenges and Solutions
No craft comes without its challenges, and decoupage is no exception. Here are some common issues and how to solve them.
| Challenge | Solution |
|---|---|
| Air Bubbles | Smooth out with a roller or squeegee before the adhesive dries. |
| Peeling Edges | Ensure the cutouts are thoroughly glued down and reapply adhesive to any lifting edges. |
| Cloudy Varnish Finish | Allow each layer to dry completely before applying the next. Use a high-quality varnish. |
| Wrinkles | Thin paper can wrinkle easily. Opt for slightly thicker paper or work slowly and meticulously when adhering the paper to the surface. |
Conclusion
The transformative power of decoupage is truly magical. From basic techniques to advanced methods, we’ve explored a plethora of ways to bring new life to surfaces. Whether it’s that old wooden box, a plain glass vase, or even a piece of furniture, the possibilities are endless. And isn’t that what makes crafting so exciting?
We hope you feel inspired to gather your supplies and dive into the enchanting world of decoupage. Remember, each piece you create is a reflection of your creativity and love. So, let’s bring a little bit of magic into our lives, one cutout at a time. Happy crafting!