Hey everyone! We’re excited to share a fun and creative way to personalize your holiday celebrations. In our latest article, “How to Make Your Own Holiday Decorations,” we delve into easy and delightful DIY projects that will add a unique touch to your festive season. We’ll guide you through step-by-step instructions to craft beautiful ornaments, garlands, and centerpieces that not only bring joy but also make lasting memories. Join us on this crafty journey and let’s sprinkle some homemade magic all around!
Have you ever thought about making your own holiday decorations? There’s something truly magical about creating something with our own hands, something that will bring joy to our homes and set the holiday spirit aglow. Moreover, it’s often more affordable and gives us a unique way to express our creativity. Today, let’s dive into the world of DIY holiday decorations together. Whether it’s for Christmas, Hanukkah, or any other festive occasion, we’ll explore ways to craft beautiful, personalized decor. By the end, we will know how to make our holidays even more special.

Why Make Your Own Holiday Decorations?
Before we start gluing, cutting, and designing, let’s discuss why making our own holiday decorations is a fantastic idea. Homemade decorations allow us to personalize our space, reflect our unique style, and often use materials we already have on hand. Additionally, creating decorations can be a fun activity to do with family and friends.
Personalized Touch
Our homemade decorations carry our individual flair, unlike store-bought options. Each creation speaks of our personality, making our holiday space distinctly ours. Guests will marvel at our unique decor, and we’ll have conversation pieces to share.
Cost-Effective
Holiday decorations can be expensive, particularly those of premium quality and uniqueness. When we make our own, we often save money, as crafting supplies can be found at reasonable prices or made from items we already own.
Quality Time
Creating decorations can be a delightful activity that brings us closer to our loved ones. It’s an opportunity for family and friends to bond, share stories, and enjoy each other’s company while making something beautiful.
Essential Supplies for DIY Holiday Decorations
To get started, we need the right supplies. While the specific materials will depend on each project, there are some basic items we will find useful across most crafts.
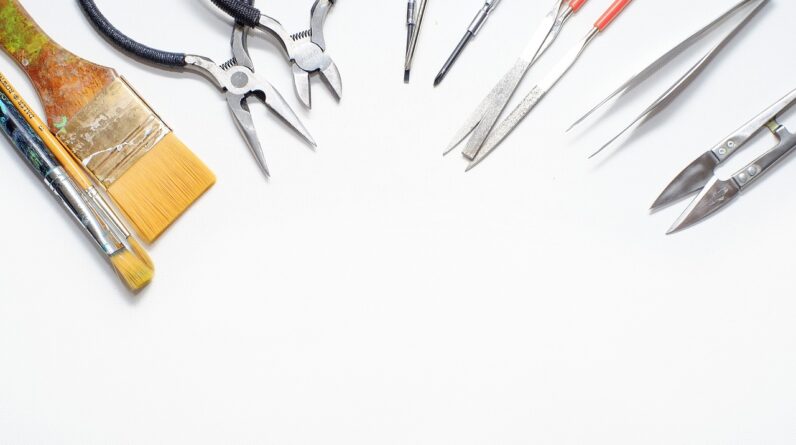
Basic Craft Supplies
- Scissors – A good pair of sharp scissors can make all the difference.
- Glue and Adhesives – Hot glue guns, craft glue, and adhesive tapes are essential.
- Craft Paper – Colorful paper, cardstock, and crepe paper are versatile for various projects.
- Paints and Brushes – Acrylic paints and a set of brushes are indispensable.
- Markers and Pens – For detailing and adding finishing touches.
Specialized Materials
Depending on our projects, we might also need special materials like:
- Fabrics – Different textures and patterns for more elaborate crafts.
- Beads and Sequins – Add a bit of sparkle and glam.
- Wood Pieces – Wooden cutouts and shapes add a rustic appeal.
- Ribbons and Yarn – Useful for many decorative touches.
Recyclable Items
Don’t overlook the potential in everyday items:
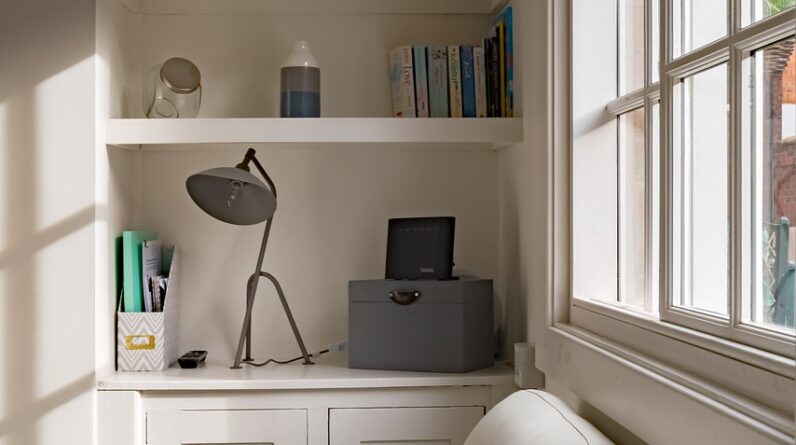
- Glass Jars – Perfect for candle holders and centerpieces.
- Egg Cartons – Great for making wreaths or ornaments.
- Bottle Caps – Can be transformed into small decorations.
Christmas Crafts
Christmas is perhaps the most decoration-heavy holiday. From twinkling lights to shimmering ornaments, the possibilities are endless. Let’s explore a few projects that will make our homes festive without breaking the bank.
DIY Christmas Ornaments
Let’s start with ornaments. Making our own can not only save money but also give us unique keepsakes.
Materials Required
- Clear plastic or glass ornaments
- Paints
- Ribbons
- Glitter
- Small decorative items (like tiny bells or figurines)
Steps to Follow:
- Prep the Ornaments: If using clear ornaments, remove the top and clean inside.
- Decoration Inside and Out: Pour a bit of paint inside and swirl it around, or fill the ornament with tiny decorations.
- Add Ribbons and Glitter: Decorate the exterior with ribbons or sprinkle glitter for an extra shine.
- Replace Top and Hang: Secure the top back in place and add a ribbon loop for hanging.
Handmade Wreath
A welcoming wreath on the door sets a festive mood right from the entrance.
Materials Required
- Wire wreath form or foam ring
- Garland or greenery
- Decorative items (e.g., pine cones, small ornaments)
- Hot glue gun
- Ribbon or bow
Steps to Follow:
- Base Layer: Wrap the wire form with greenery or garland.
- Secure it in Place: Use floral wire or hot glue to secure the ends.
- Add Decorations: Glue pine cones, small ornaments, or other decorations evenly around the wreath.
- Finalize with a Bow: Attach a big festive bow at the top or bottom of your wreath.
Festive Candle Holders
Candles can create a warm, cozy atmosphere. Crafting our own candle holders adds an extra touch of charm.
Materials Required
- Mason jars or small glass containers
- Paints
- Glitter
- Ribbons
- Tea lights or small candles
Steps to Follow:
- Clean the Jars: Ensure they are free from dust and grease.
- Paint and Decorate: Paint the jars with festive motifs or coat them in glitter. Allow to dry.
- Add Finishing Touches: Tie a ribbon around the rim for added decoration.
- Insert Candles: Place tea lights or small candles inside.
Hanukkah Decorations
Hanukkah, the festival of lights, calls for special decorative touches to celebrate each night. Let’s explore some unique DIY ideas.
Menorah Centerpieces
Creating our own menorah can be a beautiful and meaningful project.
Materials Required
- Wood block or metal base
- Craft clay or air-dry clay
- Candle holders (or use the clay to create holders)
- Decorative paint and brushes
Steps to Follow:
- Create the Base: Use the wood or metal block as the core structure.
- Craft Candle Holders: Form individual candle holders using craft clay and attach them to the base.
- Decorate: Once the clay hardens, paint the menorah in bright, festive colors.
- Insert Candles: Ensure the holders are appropriately sized for Hanukkah candles.
Dreidel Garland
A dreidel garland is a fun and festive way to deck the halls.
Materials Required
- Construction paper or felt in blue and white
- String or yarn
- Glue and scissors
- Markers or fabric paint
Steps to Follow:
- Cut Out Shapes: Cut dreidel shapes from the construction paper or felt.
- Decorate: Use markers or fabric paint to draw the Hebrew letters on each dreidel.
- Attach to String: Glue or tie the dreidel shapes onto a piece of string or yarn, spacing them evenly.
- Hang Up: Use the garland to decorate walls, windows, or the mantelpiece.
Latke Placemats
Personalized placemats can bring an extra touch of festivity to the table setting.
Materials Required
- Thick fabric or felt
- Fabric paints
- Brushes or sponges
- Stencils (optional)
Steps to Follow:
- Cut the Fabric: Cut the fabric into placemat-sized rectangles.
- Design: Use stencils or freehand to paint Hanukkah-themed designs (like dreidels, menorahs) onto the fabric.
- Dry and Set: Allow the paint to dry completely before using.

Decorations for Other Holidays
We celebrate many diverse holidays and occasions throughout the year. Here are some ideas for other popular festive seasons.
Easter Decorations
Easter brings the freshness of spring, and our decorations can reflect that vibrant renewal.
Easter Egg Garland
A whimsical garland of colorful eggs can brighten up any space.
Materials Required
- Plastic eggs or craft paper
- Paints and brushes
- String or ribbon
- Hot glue
Steps to Follow:
- Decorate the Eggs: Paint and decorate plastic eggs or cut out egg shapes from craft paper and decorate.
- Prepare the Garland: Attach each egg to a string or ribbon using hot glue.
- Hang Up: Drape the garland over mantels, windows, or doorways.
Bunny Centerpieces
Cute bunny decorations are a staple for Easter.
Materials Required
- Small terra cotta pots
- Craft foam or felt
- Googly eyes
- Cotton balls
- Paint and brushes
Steps to Follow:
- Base and Bunny Face: Paint the pots in pastel colors. Cut out bunny ear shapes from the craft foam or felt and glue them to the top of the pot.
- Facial Features: Attach googly eyes and a small cotton ball for the nose.
- Complete the Look: Add more decoration as needed, like a bow or little whiskers using black marker or pipe cleaners.
Halloween Decorations
Halloween is all about spooky fun. Here are a couple of ideas to get those creative—and slightly eerie—juices flowing.
Spooky Ghost Lanterns
Creepy yet cute ghost lanterns can light up your Halloween night.
Materials Required
- White fabric or cheesecloth
- Balloons or plastic containers
- Craft glue or starch
- Black felt or construction paper
Steps to Follow:
- Form the Ghost Shape: Inflate balloons or use plastic containers as a mold. Drape the fabric over them.
- Apply Glue: Mix craft glue with water or use starch and apply over the fabric to stiffen it. Let it dry completely.
- Add Features: Cut out eyes and a mouth from black felt or paper and glue them on.
- Remove Mold: Once dry, remove the balloon or container to leave a hollow ghost lantern.
Decorative Halloween Wreath
Spooky wreaths can be a great addition to our Halloween décor.
Materials Required
- Foam ring or wire wreath form
- Black ribbon or tulle
- Small plastic spiders, bats, or other spooky elements
- Hot glue
Steps to Follow:
- Wrap the Wreath: Use black ribbon or tulle to wrap around the foam or wire form, completely covering it.
- Add Decorations: Hot glue plastic spiders, bats, or other creepy elements onto the wreath.
- Finishing Touches: Add a big black bow at the top or bottom.
Tips for Crafting Success
While we dive into our creative projects, here are some tips to ensure the best outcome.
Plan Ahead
Think about the theme and color scheme we want. Gather all our materials before beginning to avoid interruptions.
Start Simple
If we’re new to crafting, start with simpler projects. As we become more comfortable, we can tackle more complex creations.
Be Patient
Crafting is fun, but it requires patience. Allow glue and paint to dry completely and take our time to get the details right.
Involve the Family
Making decorations can be a family activity. Assign tasks based on each person’s skills and make it a collaborative effort.
Use Recycled Materials
Look for opportunities to incorporate recycled materials into our projects. This is not only eco-friendly but also adds a unique charm to our decorations.

Conclusion
Making our own holiday decorations has so many benefits. It’s economical, gives a personalized touch, and offers us quality time to spend with loved ones. Whether it’s for Christmas, Hanukkah, Easter, or Halloween, the projects we create bring more joy and warmth to our celebrations. Plus, when friends and family visit, we’ll have the satisfaction of showing off our handcrafted decor.
So, why not start today? Gather those materials, rally the family, and let’s embark on some festive crafting. Once we experience the magic of homemade holiday decorations, we might never go back to store-bought ones again. Happy crafting and happy holidays!